See the Explanation for Step by Step solution.
Explanation:
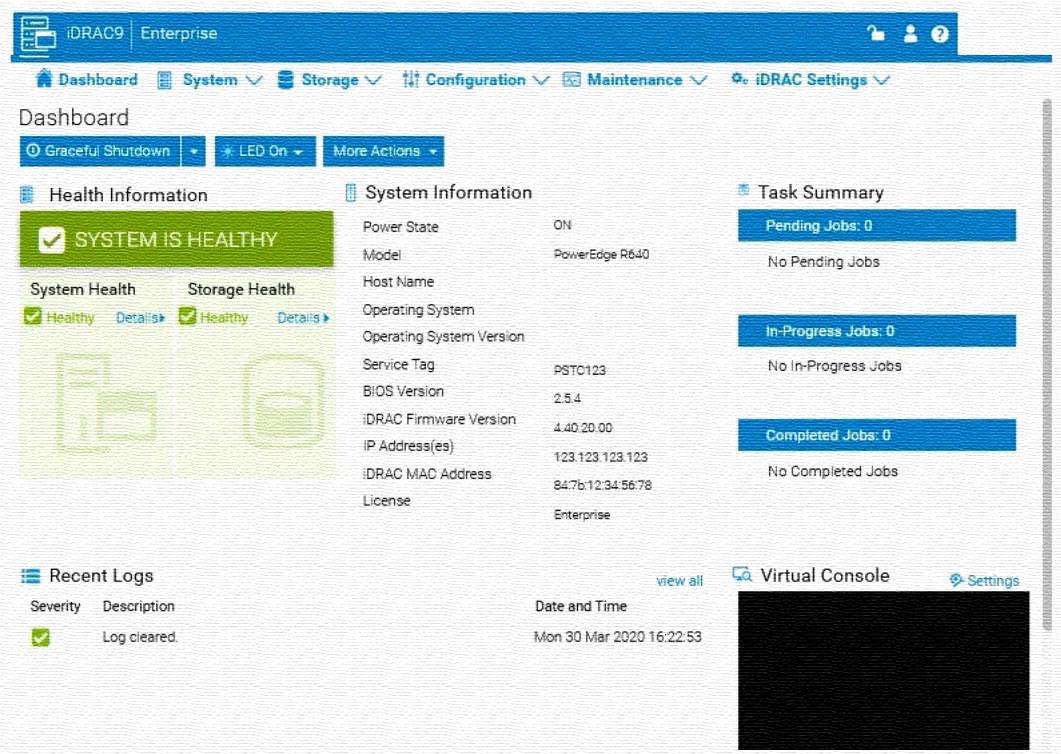
To enable capturing the full POST (Power-On Self-Test) sequence using the iDRAC interface, follow these steps:
Step-by-Step Guide:
* Log into the iDRAC Interface:
* Access the iDRAC UI using the server's IP address from a web browser.
* Enter your credentials to log in.
* Navigate to System BIOS Settings:
* Go to the Configuration tab on the top menu.
* Select BIOS Settings from the dropdown menu. This will take you to the settings where you can manage BIOS-related configurations.
* Enable POST Sequence Logging:
* In the BIOS Settings, look for an option related to POST Behavior or Boot Sequence Capture.
* Enable Verbose Mode or Capture Full POST Sequence. This setting ensures that the entire POST process is logged in detail during the next boot attempt.
* Alternatively, if there is a specific setting for Capture System Boot Logs, enable it to ensure detailed logging during POST.
* Apply the Changes:
* After enabling the POST capture option, click Apply or Save.
* iDRAC may prompt for confirmation or inform you that changes will take effect upon the next reboot. Confirm any prompts as required.
* Restart the Server (if necessary):
* If the server is currently off, attempt to power it on. If it's on, you may need to perform a Graceful Shutdown followed by a restart to initiate the POST sequence.
* Review POST Logs After Reboot:
* Once the server attempts to boot, return to the iDRAC Logs section to review the captured POST logs.
* Go to Maintenance > System Event Log or Lifecycle Log to view the detailed logs from the POST sequence. This can help diagnose why the server is failing to boot.
By enabling this setting, you will capture detailed information during the POST process, which can then be reviewed to identify any hardware or configuration issues preventing the server from booting successfully.
